Crawl your website with my-web-crawler for free.

- Building a Simple Web Crawler with Node.js: A Guide to My Web Crawler Package
- What is a Web Crawler?
- Introducing My Web Crawler
- Features of My Web Crawler
- Installation
- Usage: How to Crawl a Website
- 1. Import the Web Crawler
- CommonJS Syntax
- ES6 Modules Syntax
- 2. Crawling a Website
- 3. Rate Limiting
- API
- WebCrawler Class
- Example Script
- To run the script:
Building a Simple Web Crawler with Node.js: A Guide to My Web Crawler Package
If you're a developer interested in web scraping, SEO, or even just discovering content across the web, creating a web crawler can be a valuable tool. In this blog, we'll walk you through building a simple and lightweight web crawler using Node.js. We'll also introduce you to a package called my-web-crawler, which allows you to crawl websites and generate XML sitemaps for SEO purposes.
What is a Web Crawler?
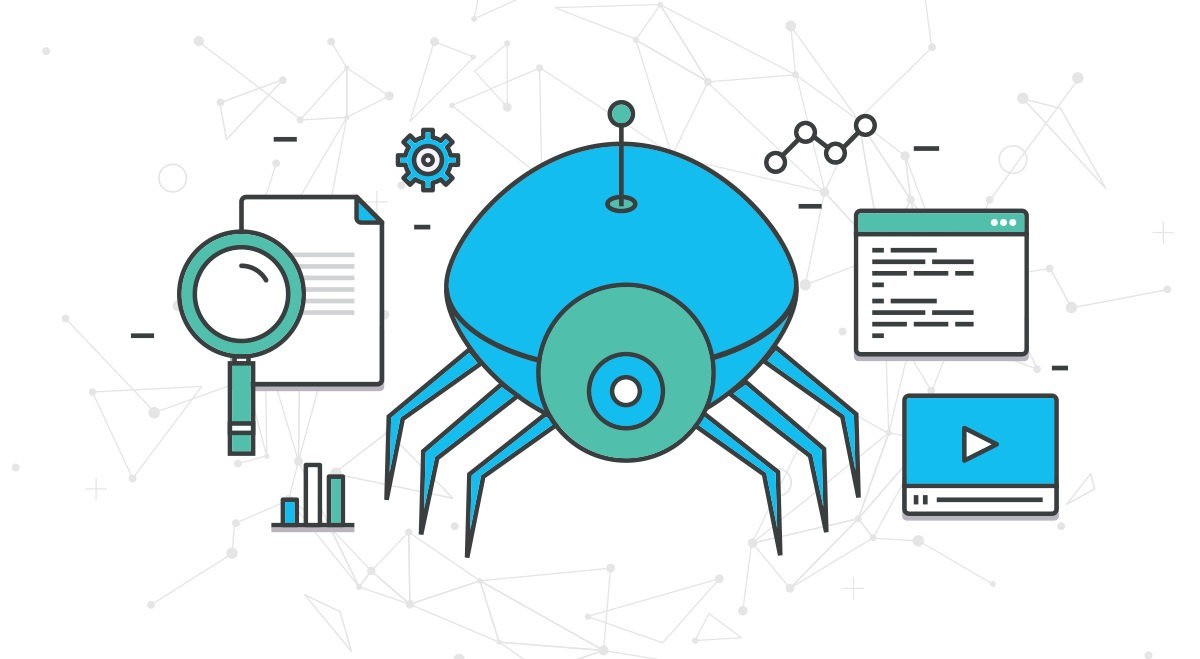
A web crawler, sometimes referred to as a spider or bot, is a program designed to visit websites and gather information. These crawlers recursively explore pages, following links and collecting data as they go. In the context of SEO, web crawlers are used to create sitemaps that help search engines understand the structure of a website.
Introducing My Web Crawler
The my-web-crawler package is a simple Node.js library that allows you to crawl websites and create an XML sitemap of all the pages it visits. This tool is especially useful for SEO analysis, website audits, or content discovery. It handles the crawling process, follows internal links, and generates an XML sitemap for you, making it a helpful tool for both developers and website owners.
Features of My Web Crawler
- Recursively Crawls Internal Links: It starts from a specified URL and follows internal links, ensuring a deep crawl through the website.
- Generates XML Sitemap: After visiting the pages, it generates an XML sitemap, which can be submitted to search engines to improve SEO.
- Rate-Limiting: To prevent overloading the server, the crawler includes rate-limiting functionality that controls the frequency of requests.
- Efficient HTTP Requests: The package uses Axios for making HTTP requests and Cheerio for parsing the HTML content of the web pages.
Installation
To get started with my-web-crawler, you’ll first need to install it in your Node.js project. To install the package, run the following command in your terminal:
npm install my-web-crawlerUsage: How to Crawl a Website
Once the package is installed, you can start using it in your project. You have the option of using CommonJS or ES6 module syntax to import the crawler.
1. Import the Web Crawler
After installing the package, you can import it into your project using either CommonJS or ES6 modules.
CommonJS Syntax
const WebCrawler = require('my-web-crawler');ES6 Modules Syntax
import WebCrawler from 'my-web-crawler';2. Crawling a Website
You can create a new instance of the WebCrawler class by providing the starting URL. The crawl method recursively crawls the site, and the saveSitemap method generates and saves the sitemap.
const WebCrawler = require('my-web-crawler');

// Specify the starting URL
const startUrl = 'http://codewithdeepak.in';
const crawler = new WebCrawler(startUrl);

// Start crawling and save the sitemap
crawler.crawl(startUrl).then(() => {
  crawler.saveSitemap('sitemap.xml');  // Saves the sitemap to 'sitemap.xml'
}).catch(err => {
  console.error('Error during crawl:', err);
});
3. Rate Limiting
The crawler includes a delay between requests to avoid overwhelming the target website. The delay is set to 50 milliseconds by default, but you can customize it when initializing the WebCrawler.
const crawler = new WebCrawler(startUrl, 100 , limit);  // Delay of 100 ms between requests
// Set the limit of number of urls to crawl (optional)
API
WebCrawler Class
The WebCrawler class has the following methods:
- constructor(startUrl, delayMs = 50, limit = 50): Initializes the WebCrawler with the given URL, delay in milliseconds, and an optional limit on the number of URLs to crawl.
- async crawl(url): Starts the crawling process, recursively following all internal links starting from the given URL.
- saveSitemap(filename): Generates an XML sitemap from the visited URLs and saves it to the specified file.
Example Script
Here’s how you can use the package in a simple script:
// crawler-script.js
const WebCrawler = require('my-web-crawler');

const startUrl = 'http://codewithdeepak.in';
const crawler = new WebCrawler(startUrl);

crawler.crawl(startUrl).then(() => {
  crawler.saveSitemap('sitemap.xml');
}).catch(err => {
  console.error('Error during crawl:', err);
});
To run the script:
node crawler-script.js